Tag Archive for: Recipe
Happy Labor Day! I have been on a healthy kick of late, but everyone needs a treat now and again, especially on a holiday! If you have a cheat day coming up (or just want an amazing treat!), put these on your list. (BF and I actually ended up just splitting one cookie and sharing the rest with our co-workers just to satisfy the craving). I think it is hard to beat the original Nestle Tollhouse recipe but these take chocolate chip cookies to a whole new level! Start with disks of Valrhona Dark Chocolate, add it to perfect dough, then use a unique technique to get a cookie soft in the middle and crunchy on the edges…can you say YUM?! These cookies are generous in size, so you may only get a dozen or so out of a batch. We have been searching for this recipe for over a year. The idea came from a mix that has now been discontinued. Be prepared to be patient and prep the dough ahead to allow to cool. These really are worth the wait!
Kelly
Ultimate Chocolate Chip Cookies
2 cups minus 2 Tablespoons of cake flour
1 2/3 cups bread flour
1 ½ teaspoons baking powder
1 ¼ teaspoons baking soda
1 teaspoon coarse salt (we used kosher)
2 ½ sticks softened butter
2 eggs
1 ¼ cups packed brown sugar
1 cup plus 2 Tablespoons granulated sugar
2 Tablespoons heavy cream or milk
2 Tablespoons pure vanilla extract
Pinch of pink salt
~2 cups dark chocolate disks (we found ours at Whole Foods and used 60% dark and 64% Valrhona disks)

- Sift together both kinds of flour, baking soda, and baking powder into a small bowl. Stir in coarse salt.
- In a large bowl, cream the butter and both kinds of sugar until fluffy.
- Blend in eggs, cream and vanilla. Fold in dry ingredients.
- Break up some of the chips in a food processor. You will end up with a variety of sizes with lots of whole disks. Think about what you like, but those disks will give you pockets of chocolate and some pretty decoration on the top! It will look like A LOT of chocolate, but ends up being just right.

- Cover tightly with plastic wrap and let chill in the refrigerator for 1-24 hours. Yes, 24 hours! We actually rushed it by putting this in the freezer for half an hour, but I think it is worth waiting the full 24.
- Preheat oven to 375°. Line two cookie sheets with a silpat or parchment paper.
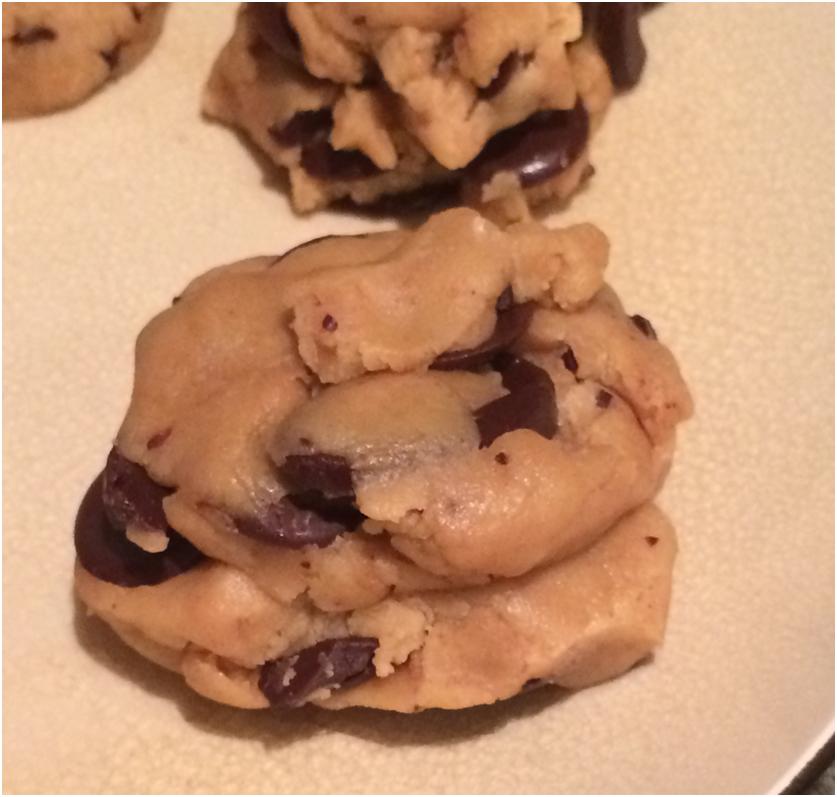
- Scoop dough and form into disks (about 2-3″ in diameter). Stack a smaller disk on top of the bottom disk like you are building a snowman…the yummiest snowman ever! This is what really gives you the soft, gooey center with a crispy edge.
- Sprinkle each cookie lightly with pink salt. Chill another 10 minutes on the pan before baking.

- Bake one sheet at a time on the lowest rack for 13 minutes rotate 180° after 6 minutes.

- Look for a light blonde center with brown edges. (See the salt? That might be the biggest key to these!)

Grab a cold glass of milk and enjoy!
If you are like me, you are always looking for a healthy option you can make ahead for lunch. Quinoa always seems like a good healthy choice, but I haven’t really found a way I liked it…until now! This is light and fresh with lots of healthy additions. Bonus, it holds up really well all week! I like to make this on Sunday and it is just as good on Friday as it is on Monday. I love that I can eat it cold at my desk which makes life so easy. Let me know what you think!
Kelly
Cilantro Lime Quinoa
Ingredients:
2 cups uncooked quinoa
2 cups chicken stock
2 cups water
Juice and zest of 4-5 limes
2 Tablespoons honey
1 cup fresh cilantro, chopped
Kosher or sea salt
Pepper
1/2 cup extra virgin olive oil
6 scallions, thinly sliced (white and green parts)
2 red or yellow bell peppers, chopped
3 carrots, chopped
1 can black beans, drained and rinsed
2 grilled chicken breasts, chopped

Rinse quinoa 3 times to remove the bitter outside layer. Cook the quinoa with chicken stock and water (I add a little extra liquid because we are at high altitude). Bring the liquid to a boil then reduce to simmer for 30 seconds, bring back to a boil for another 30 seconds then reduce to a simmer for about 20 minutes until cooked through and tender. Allow to cool.
In a large bowl, whisk the lime juice with the zest, honey, a pinch or two of salt & pepper, and olive oil, until the dressing comes together. Add the cilantro and mix.
Add the chopped scallions, peppers, carrots, black beans, chicken, and quinoa and gently toss in the dressing.
Garnish with additional cilantro and lime zest, if desired. Eat immediately or pack up for lunches for the week. Great hot or cold!
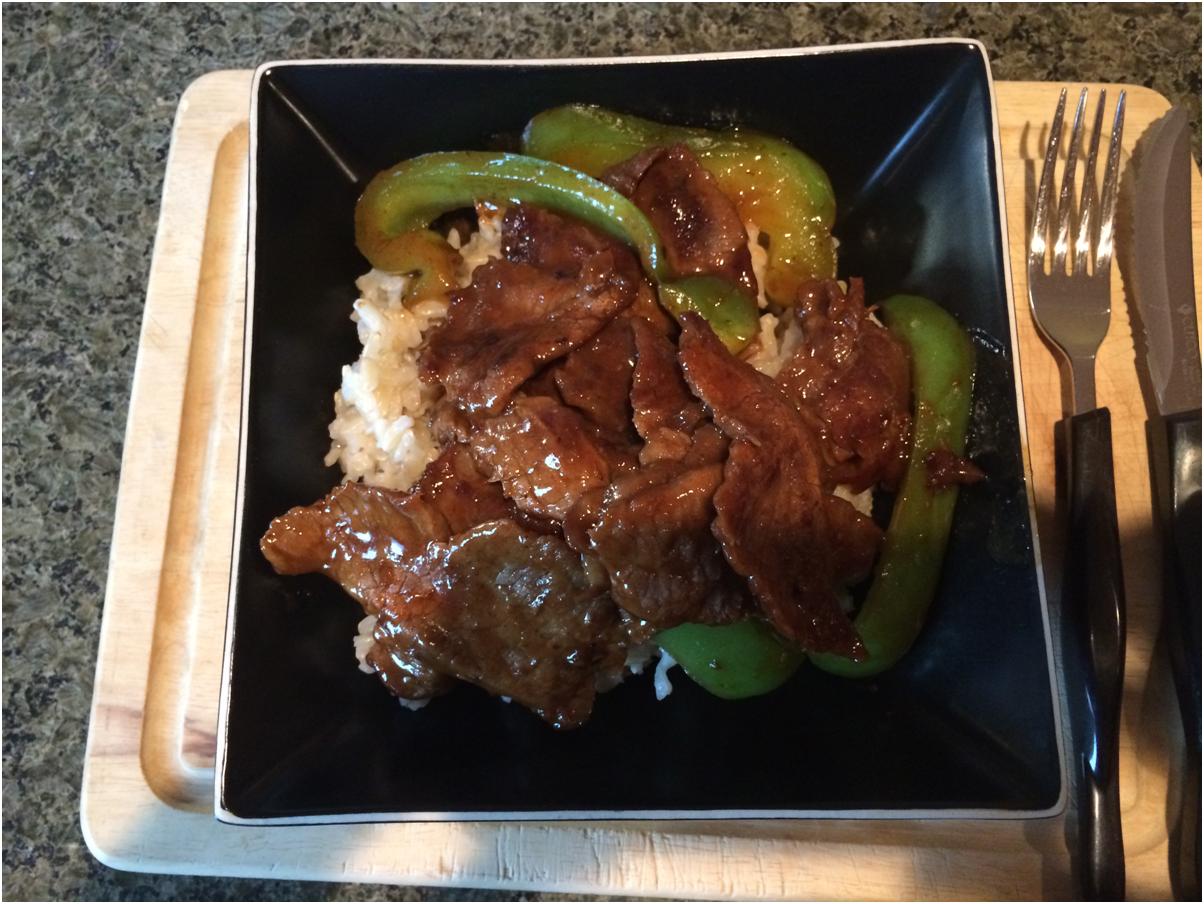
I am a huge fan of stir fry; you can prep ahead of time (or even freeze in the marinade), it is a great way to clean out the fridge, it is usually healthy and everything goes in one pot! This is one that BF has been loving lately. This is a take-out-at-home kind of meal that will leave you satisfied for Chinese without all the extra fat. I usually add peppers to this, but it would be a great beef and broccoli substitute also. The sauce is sweet and salty and the cornstarch help to reduce everything to nicely cover the beef. I have not tried it with other types of meat, but I am sure that would be great too. As a freezer meal, I usually freeze it with the soy and cornstarch and freeze the sauce in a separate bag to be added at the right point. Flank steak is a great cut of meat that tends to be relatively inexpensive. It can be tough, so marinading it really helps. I have also found that the cornstarch really gives this a bit of extra help making it super tender. I like to cook the meat on pretty high heat (even though it can cause a bit of smoke and splatter) but I think it helps to sear the meat and keep it juicy on the inside. I did find a great tip last week: if you cut the steak when it is partially frozen, you can get super thin slices. A really good knife is on my wish list, but that is how I make due with what I have! This originally came from Guy’s Big Bite on the food network and I have tweaked it a bit over time. Try it out for an easy week night meal!
Kelly
Tangerine Beef
3 tablespoons soy sauce
1 tablespoon cornstarch
1 pound flank steak or tri-tip, cut in thin strips on the bias
1 bell pepper cleaned and sliced
2 tablespoons red wine vinegar
2 tablespoons hoisin sauce
2 tablespoons honey
2 tablespoons chili sauce
2 tablespoons soy sauce
1/4 cup freshly squeezed tangerine juice (sometimes I cheat and use tangerine juice from Whole Foods)
3 tablespoons olive oil
2 tablespoons minced fresh ginger
3 scallions, chopped
1/4 tangerine, zested
In a plastic bag combine the soy sauce and cornstarch and mix well. Add beef, cover, and let marinate for 20 minutes in the refrigerator.

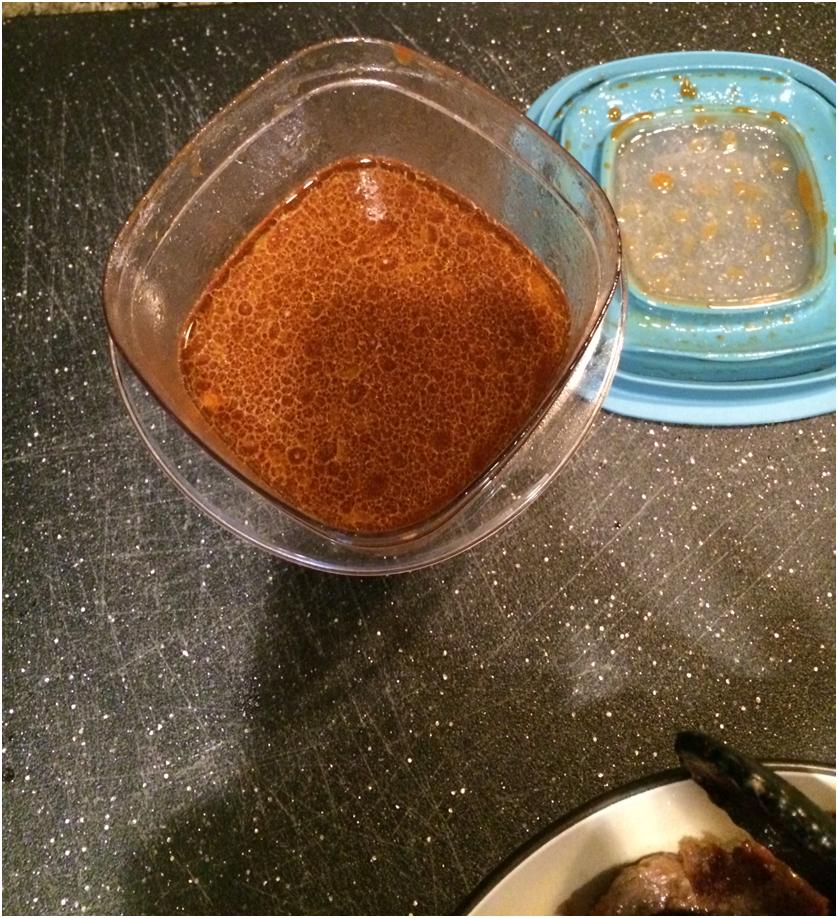
Mix the sherry, hoisin, honey, chili sauce, soy sauce, and tangerine juice in a container and shake until combined.
In large pan or wok, heat oil on high. Add the ginger and beef and cook for 2 to 3 minutes. I like to do this in batches to get a really good sear, but you can do it all together if you have a great big pan!

Then add the veggies followed by the sauce mixture.
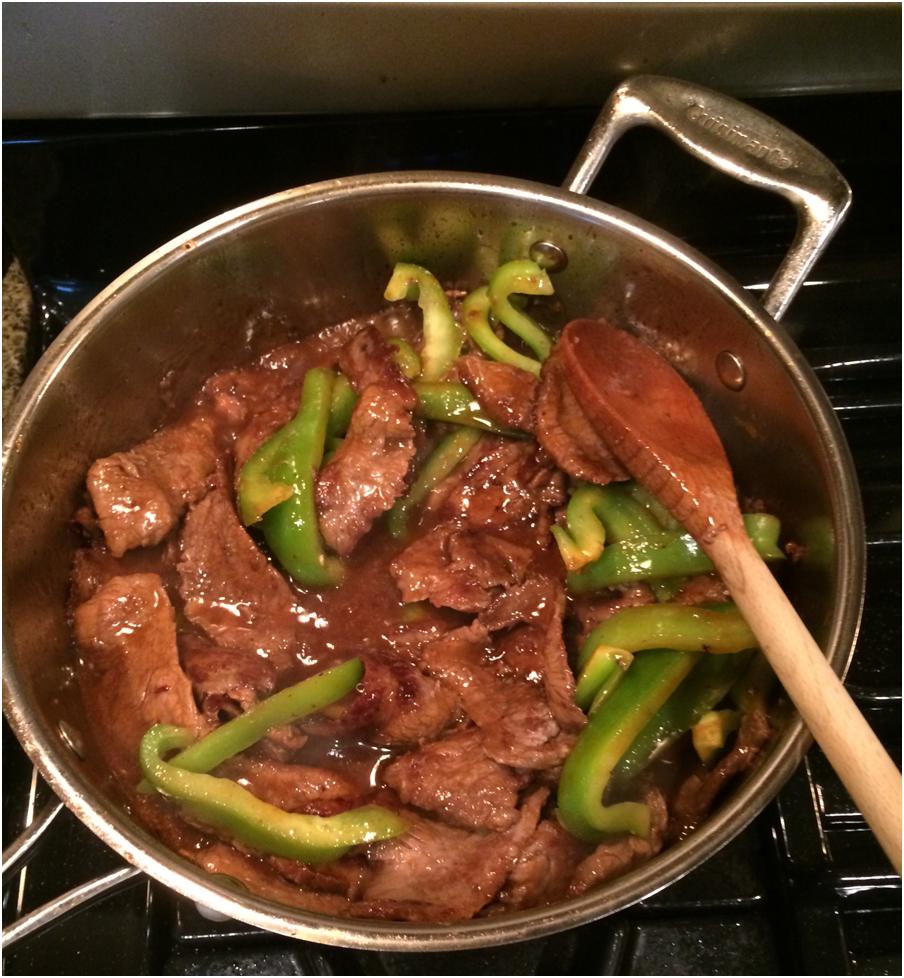
…and cook for another 2-5 minutes on medium heat until sauce thickens. See the bubbles?? J

Serve over brown rice and garnish with scallions and tangerine zest. Enjoy!
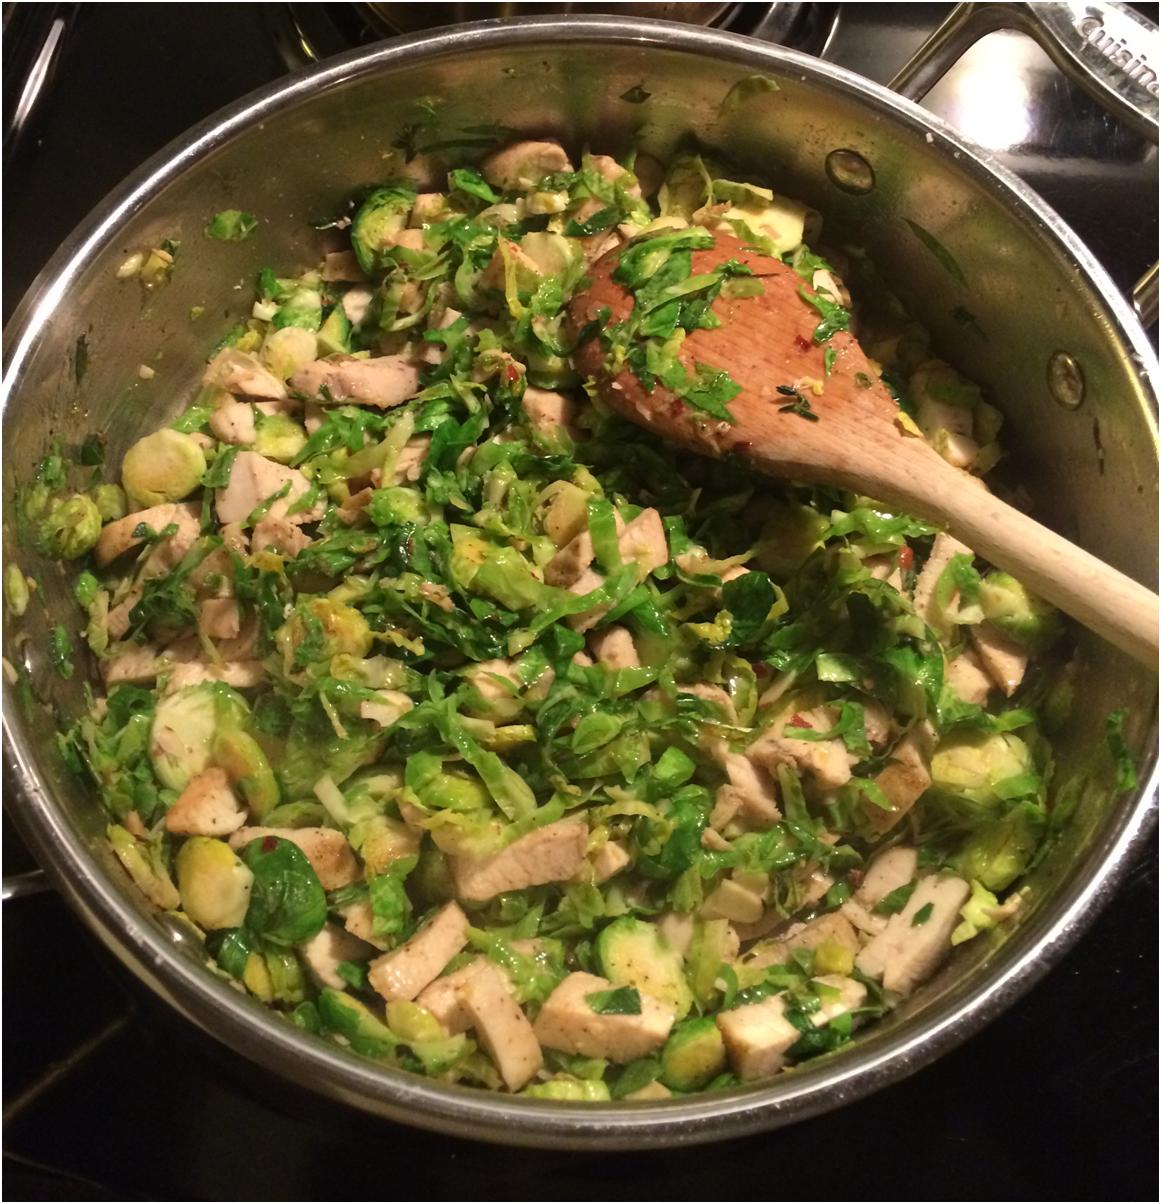
We started talking earlier this week about healthy eating and how to make it easier. When you live with someone who eats roughly 4,000 calories a day…all clean…you have to do some prep work to make things practical. On the weekend, we sit down together and make a menu for the week for dinner, but that doesn’t always help with breakfast and lunch. I am getting better at planning leftovers in for lunches, but it is much easier to just pack everything at the beginning of the week and be able to grab and go. I start by cooking about egg muffins, 2 cups of brown rice, 6 organic chicken breasts, 4 sweet potatoes and steaming a bunch of veggies. With these staples always in the fridge, you can make a lot of things happen. Sometimes chicken becomes Chicken Tinga, or enchiladas. Often it gets chopped and sent in lunches. By having a bit of an assembly line with the food scale, I can get through things pretty quickly with already cooked foods. Bonus, whatever we don’t get to, I just freeze and use that in meals down the road. Shredded chicken is awesome to have in the freezer…a great time saver! I try to mix in something I haven’t tried before once a week. It doesn’t always happen (read: the lentils I meant to make still in my pantry) but I try for variety. We usually mix in one fish meal and one lean red meat meal each week. I swear all of this is much easier than it sounds! It really does make the rest of the week go much smoother. Here is an example of a dinner I made from our staples in the fridge. You can see our fully stocked fridge is how we make it without take out for every meal! Chicken and Brussels sprouts with brown rice. MMMM. This was great too because it saved well and became the perfect lunch later in the week. Gotta love multitasking!

Chicken with Brussels Sprouts
2 Chicken breasts cooked and cubed
12-15 Brussels Sprouts, shredded
3 T Dried Cranberries
2 T Sliced Almonds
2 T Honey
2 T Butter
Crushed red peppers
Salt and pepper
Melt butter in a sauté pan over medium heat add Brussels sprouts and sauté about 2 minutes. Add chicken, cranberries, and almonds. Season with salt, pepper, crushed red peppers and drizzle with honey. Cook another 2-3 minutes.
Serve over brown rice.

Cooking is a creative outlet for me and I probably make much fancier at home meals than most people, but not usually this fancy. This dish is special. It all started with me trying to find a way to use up the last bit of champagne in our fridge from a spontaneous celebration. After a night of sitting in the fridge, champagne is not particularly drinkable, but it is perfect for cooking! We still had some Alaskan salmon in the freezer brought home to us straight from the source…the gift that keeps on giving. That with some salad and bread to sop up the wonderful sauce made for the perfect date night in. This is my riff on beurre blanc but certainly not typical. By replacing the vinegar with extra citrus you get a bright sauce. Most of the time you would strain this sauce, but I left the shallots which added some texture. I also cut down the butter by about 75%. You still have a rich sauce, but without 3 sticks of butter. I am sure French cooking purists would not call it beurre blanc, but this is my show! This would be a perfect holiday meal and may be repeated in our house for New Years. Put this sauce on anything and enjoy!
Salmon with Champagne Citrus Beurre Blanc
1 + pounds of salmon (about ½ pound per person)
2 finely chopped shallots
1 clove finely chopped garlic
2 cups dry Champagne or white wine
Juice of 1 lemon, 2 tangerines, and 1 orange
1/2 stick of butter, cut into pieces
1/2 teaspoon freshly cracked black pepper
Kosher salt
Preheat oven to 400°. Season salmon fillet with salt and pepper place in a baking dish. Cook for 12 minutes then turn off the heat and allow to stand in the hot oven for an additional 3 minutes.

Prepare the sauce while the salmon cooks. Add 1 T butter to a saucepan over medium heat. Once melted, add the shallots and garlic cook until soft and fragrant.

Add the wine and bring to a boil allow to reduce by half, stirring frequently. See the pretty bubbles from the champagne?? Add the citrus juice and simmer about 10 minutes until reduced by about half and it begins to thicken.
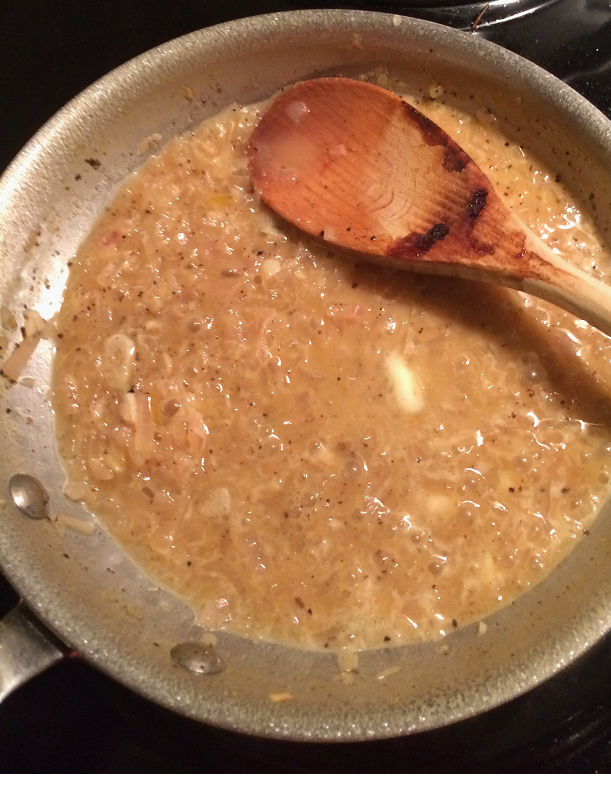
Reduce heat to low; gradually add butter, 1 piece at a time, stirring after each addition, until melted. Season to taste with salt and pepper.

Place sauce on the plate and top with salmon. Garnish with more sauce. Serves 4.

Fall is in full swing here in Colorado and it has been making me search for ways to incorporate yummy fall flavors. When I came across this recipe I knew it was the perfect way to satisfy my cravings. It comes from SoNo Baking Company, my very favorite bakery of all time. If you like to bake, just buy the book, every recipe is just right. These are even better than I imagined, soft and moist with some texture from the veggies. The cranberries added bursts of tartness and beautiful color. I did make one change right off the bat and replaced half of the oil with natural applesauce. It worked out perfectly! The only thing I would add is some kind of nuts…maybe walnuts on top? Mmm Mmm Mmmmm.
Kelly
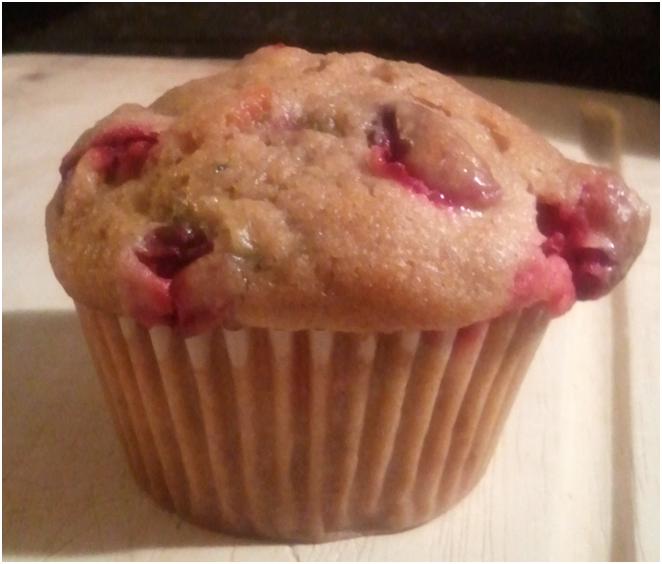
Zucchini, Carrot and Cranberry Spice Muffins
2 cups all-purpose flour
¾ t baking powder
¾ t coarse salt
¾ t ground cinnamon
½ t baking soda
1 cup sugar
½ cup canola oil
½ cup natural applesauce (bonus points if you make your own!)
2 eggs
¾ cup grated carrot (about 2 medium)
¾ cup grated zucchini (about 1 medium)
1 ½ t pure vanilla extract
1 cup whole fresh (or frozen, unthawed) cranberries
Preheat oven to 375°F. Grease a muffin pan or insert muffin cups. In a medium bowl whisk together flour, baking powder, salt, cinnamon, and baking soda; set aside. In a large bowl, whisk together sugar, oil, eggs, grated carrot and zucchini, and vanilla. I used a coarser grate to keep some of the color and texture of the vegetables, but you could use a fine grate to hide those healthy veggies. J
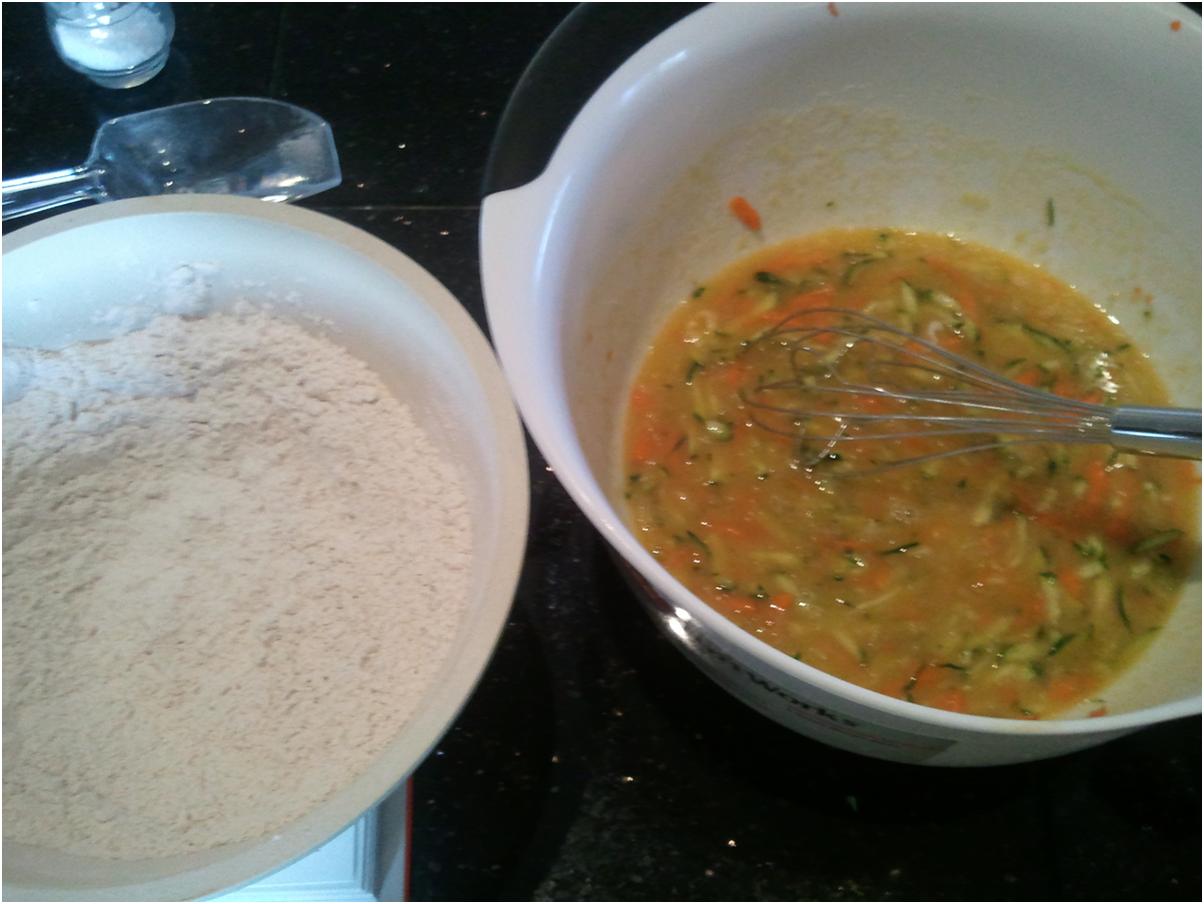
Add the dry ingredients and fold until the flour has been absorbed. Fold in the cranberries. Use a 2 inch ice cream scoop to divide the batter evenly among the prepared muffin cups.

Bake, rotating the pan about two-thirds of the way through, about 20-25 minutes, until golden brown and a tester comes out clean. Transfer the pan to a wire rack and allow to cool in the pan. Use a knife to gently lift the muffins and turn them on their sides in the pan. Enjoy!

Do you ever rediscover a former love of a recipe? Last weekend we decided to have a freezer cooking day with each of us picking something we wanted to make. I chose an old favorite from Lidia Bastianich. I am sure I have said before how much I love Lidia. Her recipes are unique and always wonderful. I think they always turn out (though I do tend to modify things as I go). This time we made this to be eaten later and miraculously it actually made it to the freezer! I am looking forward to enjoying it some night we have nothing in the house. It is full of flavor both robust and tangy. Served with veggies and bread or brown rice and you have a great fall meal!
Kelly
Chicken and Sausage Bites in Vinegar Sauce
¼ c Olive Oil
1 lb Sweet Italian Sausage, cut into bite sized pieces
2 lb Boneless Skinless Chicken Breasts, cut into bite sized pieces
Salt
4 Garlic Cloves, finely chopped
2 T Honey
2 T Butter
¼ c Red Wine Vinegar
½ c Aromatic White Wine
½ c Chicken Stock
Chopped Italian Parsley (for garnish)
In a large skillet heat 2 T olive oil over medium heat. Add the sausage and cook until lightly brown on all sides. Pour off the fat if necessary. Add remaining 2 T of olive oil. Season the chicken pieces with salt and add to the pan. Cook until brown on all sides. When close to done, make a space to brown the garlic. Once golden and aromatic, stir into the chicken and sausage.

Drizzle the honey over the top and cook, stirring often until chicken is a rich mahogany color. Add the butter and stir until melted. Pour in the vinegar and bring to a boil. Boil until the vinegar has almost completely evaporated. Add the wine and bring to a boil, then add the chicken stock. Boil until thick and there is just enough to coat the chicken and sausage.

Sprinkle with parsley and serve. YUMMY!

A Few Notes: This is a recipe where it helps to have all the ingredients laid out and prepped before you start cooking. Everything goes from not ready to done quickly! I like to use sausage out of the casing to save myself some time. I also find that it helps to remove the sausage while you cook the chicken. It helps free up the pan to encourage browning. I almost always use extra honey to get to the right color. Be a little flexible on the liquid amounts. Do what you like!
Latest News
 Fresh Lemonade – The Taste of SummerAugust 8, 2023 - 8:18 pm
 Big Kahuna BurgerOctober 7, 2021 - 10:47 pm
 Great-Grandma’s German Potato SaladSeptember 8, 2021 - 6:58 am