Specialty Coffee At Home
One of my very favorite parts of the week is our weekend coffee ritual. We pull out the special cups saved for weekends only and go through the ritual of making pour over coffee. BF really has taken on the art that is pour over. For those of you who have not tried it, pour over creates a very smooth cup of coffee that is not oily like you get with a French press. Really, you get all the best out of the beans. Though I usually let BF take on the coffee making responsibility, I am learning to do it myself and even managed to make my own coffee when he was out of town. Just ask my college roommate, I never really learned to make coffee even in a regular old Mr. Coffee, so this is a HUGE step for me!
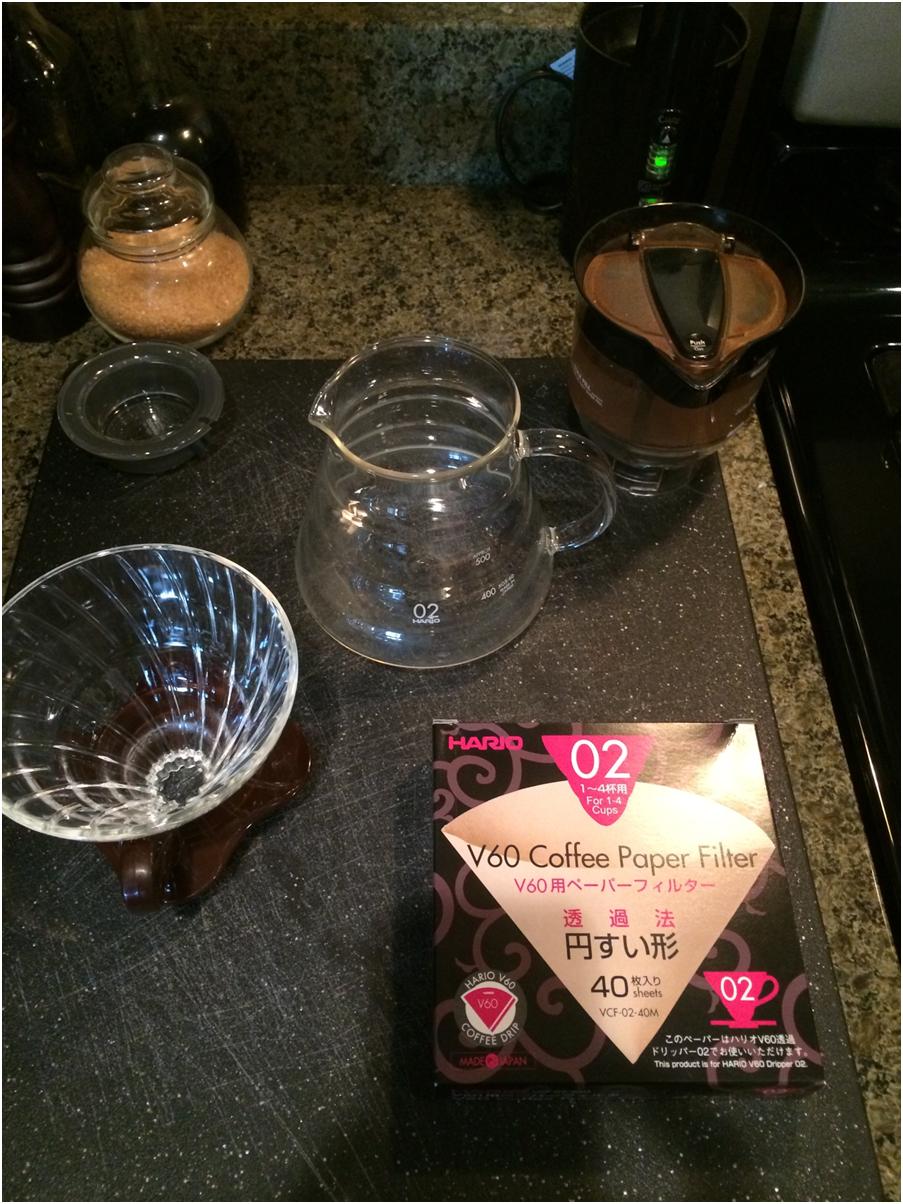
If you have a few minutes and a few tools, you too can have an extra special cup of coffee at home. We have learned that the process is important, but it is only as good as the ingredients and tools you use. We got a Hario pour over funnel, pot and kettle. The kettle really is an important key because it lets you be very precise when pouring the water. We also have our favorite beans from one of the local roasters. After trying a few versions, we think the filters that go with the set from Hario really do fit best. You can make others works, but those are the most consistent. Even spending a little more to get this done at home is way cheaper than a daily habit of picking it up! BF finds the process a good way to ease into the day and I get to benefit from the product!
Kelly
Pour Over Perfection
Begin by laying out all of your tools: the funnel, pot, grinder, beans, filter, scale, and kettle.

Fill the kettle with water and get it heating while you work on everything else.

Next, measure the beans to be ground. We use about 30g and have a measuring cup that is just right so I will admit we don’t use the scale every time. J Once they are measured, grind the beans and set aside. If you want to be really precise, you can also weigh the water as you make the coffee to keep you honest, but we have not taken to doing that regularly.

Take the filter and fold it along the seam so that it lays flat all around the cone, place the filter in the funnel.

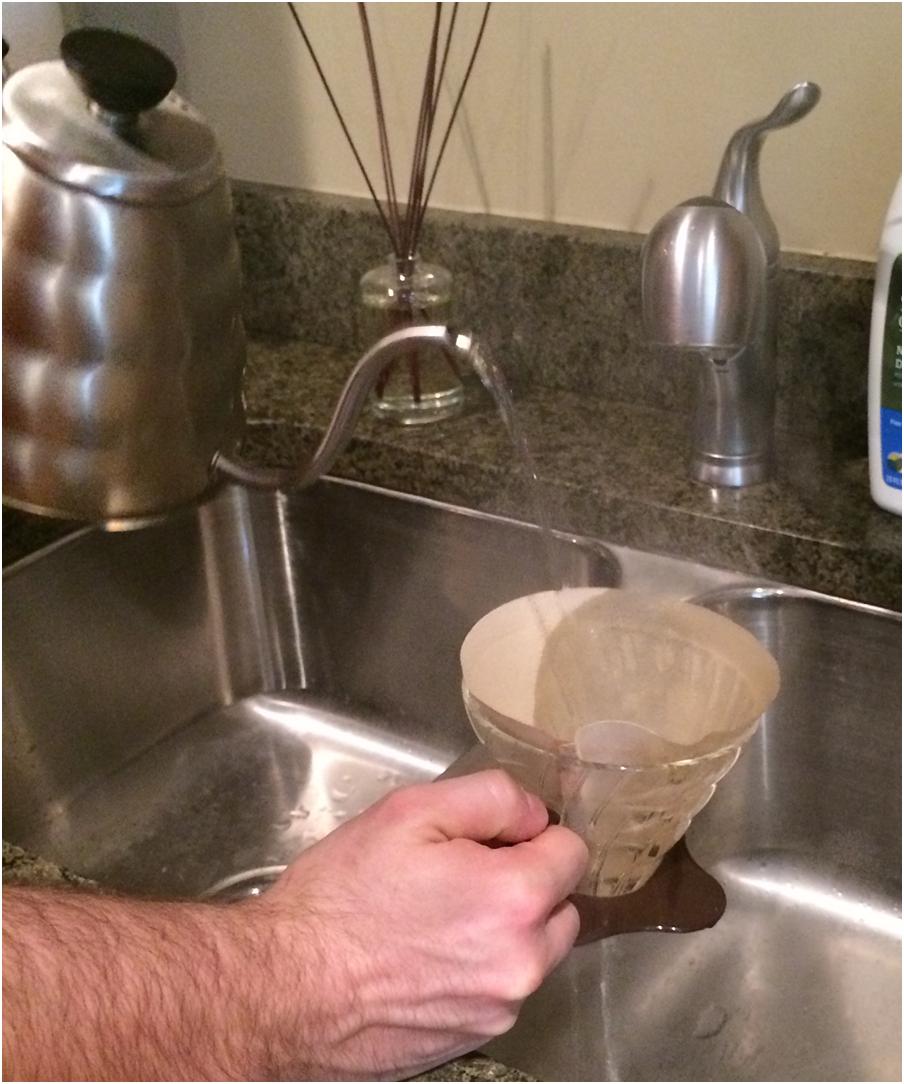
Once the water is boiling, start by heating the pot with some hot water from the kettle and swirl it, then dump the water out to start with a warm receptacle.

Next, rinse the filter…this is one that took me a while to learn, but you just have to wet the filter with the hot water to remove some of the paper taste and prep it for brewing.

Add the ground coffee and use your thumb to make a small indentation in the middle. This allows the next step called the bloom to happen evenly. This is a step you don’t HAVE to include, but it helps focus your initial pour and get more constant in a hurry!

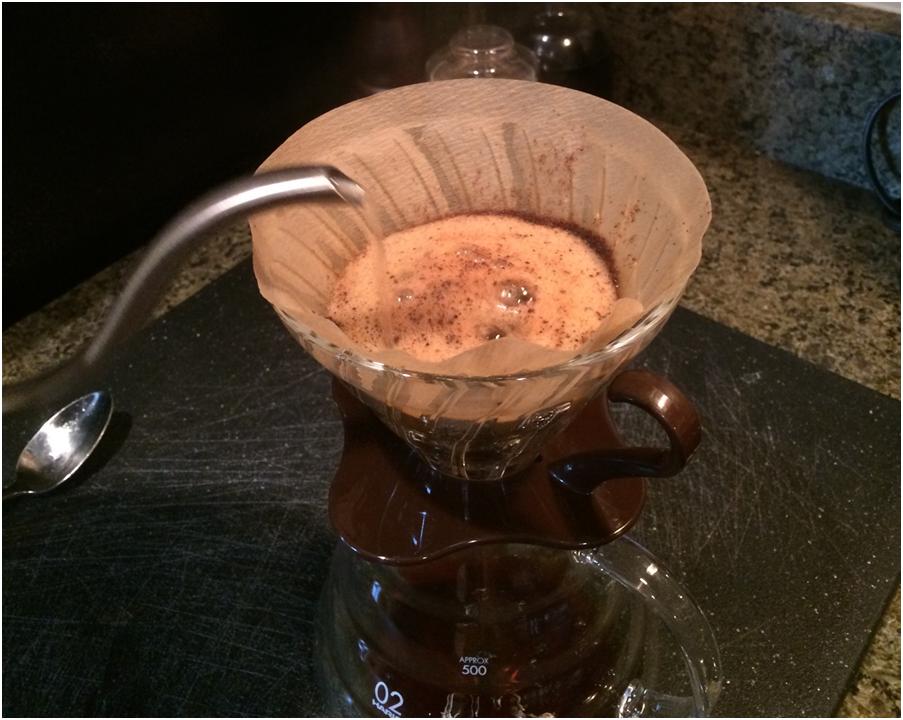
Pour the hot water right in the well you made just enough to cover the grounds. You will see bubbles start to form, this is the bloom getting the coffee started.

Now take a spoon and vigorously stir the bloom. This will help make sure there are no clumps in the grounds so you get an even brew.

As the water begins to drain, begin to pour again. Start in the center and work your way out in a spiral motion stopping short of getting all the way out to the filter. Add enough water to fill the cone about halfway. Allow to brew and add more water repeating the process before the grounds are completely dry.

One barista told me something I find helpful, think about controlling the kettle movement from your shoulder, not just from your arm and wrist…try it! It helps!

Once you reach about ½ of a brewed pot, you can take the water all the way to the top of the cone to finish it off.

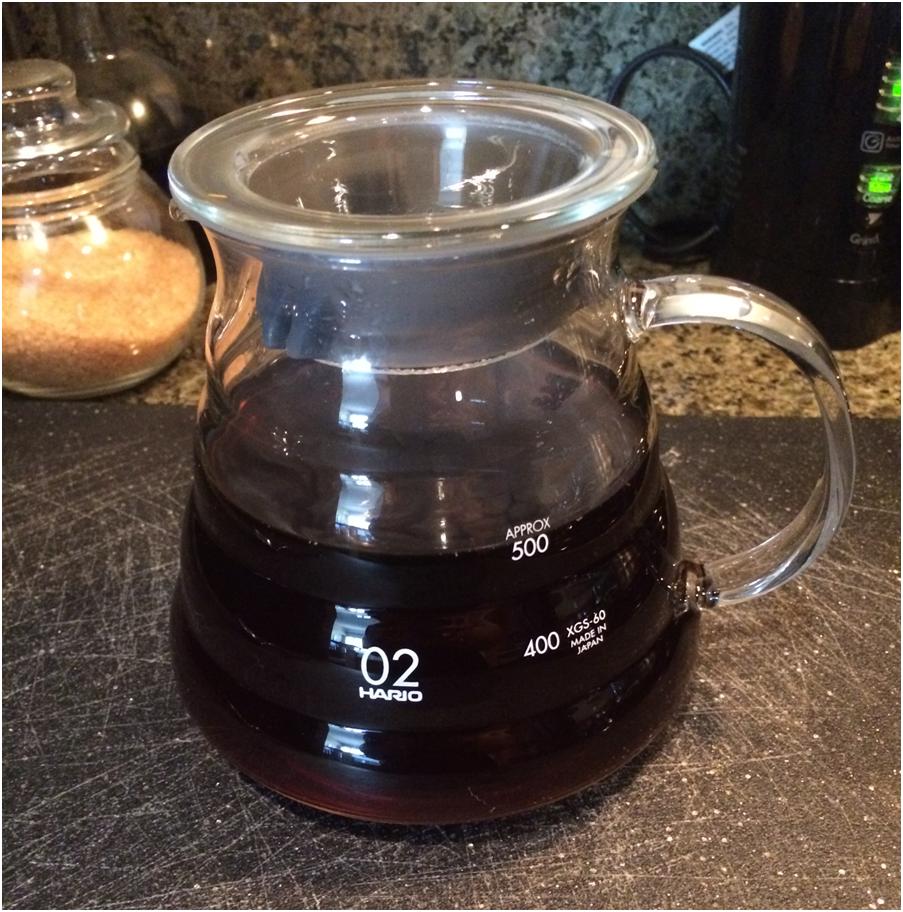
Pour yourself a cup and enjoy!!

Leave a Reply
Want to join the discussion?Feel free to contribute!