Thanksgiving is one of those meals that it can be tricky to find just the right wine to fit the bill. Do you try to please everyone? Do you try to fit the foods? But there are so many! There are a lot of ways to look at it but the most important thing to keep in mind is that no matter what you are enjoying, you are doing it with those you love. That said, there are things you can do to make complement a great meal.
As many of you know, our family loves to cook. The wonderful man in my life has taken on the challenge of learning the nuances of wine to complement any meal and this year it was Thanksgiving. He decided to begin the meal with Champagne to wake everyone up and start the celebration! In my opinion, it is a great way to begin any meal. We then have a white, a California Red, a French Red, followed by a number of Digestif options to round out the meal. It will be a fun experience to complement our lovely celebration.
If you are looking for a jumping off point to learn about wine I highly recommend Wine Folly. Both the book and the website are very accessible and very easy to read. I find a lot of wine resources very intimidating and over my head and this made me feel like I could understand and took my knowledge to the next level very quickly. Below you will find the pairings to accompany our menu described wonderfully by the aforementioned BF.
Happy Thanksgiving!
Kelly
Apertif

Jaquesson Grand Cuvée de Champagne, Cuvée N° 737, Extra Brut 2009
Champagne, FRA
Champagne is a fantastic aperitif, and it helps to wake up the palate for other food and wine along throughout the night. Jacquesson is a special favorite of ours as it was introduced to us during a celebratory (and one of our earliest) date nights! This Champagne, in particular, is very dry and has intense structure and texture – but real talk: nothing gets things moving like the sound of a bottle of Champagne being uncorked to get a day of food and drink off to the right start.
Entree

Domaine Louis Michel “Montee de Tonnerre”, Chablis 1er Cru 2012
Chablis, Cote d’Or, FRA
Chablis has had a bad reputation thanks to some mass-produced varieties which usurp the name, but French Chablis is in a class of its own. Traditionally paired with seafood, Chablis is a surprisingly wonderful Thanksgiving white wine, especially with turkey! Although Chablis is a chardonnay, they are notably different from the oak-forward chardonnays. It might be more apt to think of Chablis as a different varietal altogether. These wines are made almost entirely in steel barrels, are often very flinty and crisp, and much more pale and dry than chardonnay. The Montee de Tonnerre in particular derives all of its power from the very essence of Chablis; if your family around the Thanksgiving table were buttery chardonnays, this would be the distant cousin who lives in the lighthouse by the ocean in Nova Scotia.
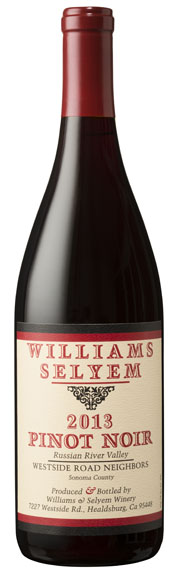
Williams Selyem “Westside Road Neighbors”, Pinot Noir 2013
Pinot Noir, Sonoma County, USA
Williams Selyem produces some of the best wine in California – a title not easily won but certainly deserved. Pinot Noir, in particular, is its forte – produced in a Burgundian style that will feature a lot of light body, high acidity, and explosive cranberry and cherry. This wine is fantastic for cutting through some of the rich flavors of Thanksgiving, and pairs extremely well with other meats beyond turkey. The Westside Road Neighbors is a knockout fruit-forward wine with aromas and flavors that ought to rival even the best side dishes (consider yourself on notice, stuffing).
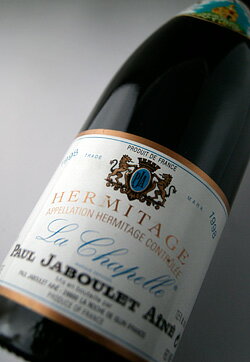
Paul Jaboulet Aîné “La Chapelle”, Hermitage 1998
Syrah, Northern Rhône, FRA
Richer foods demand a richer wine – and texture is something to consider in this kind of pairing, so it’s great to be offering a much more powerful red counterpart to the Westside Road Neighbors as represented in this Hermitage (or Syrah blend). Considerably more powerful with crushed berries and grill roasted flavors, this wine ought to be able to stand up to a second helping of that smoked turkey this year with relative ease. While other wines might lose out to rich dishes, this Syrah ought to bring them down to earth.
Digestif

Saison Dupont “Vieille Provision”, Belgian Farmhouse Ale 2015
West-Hainaut, BEL
Though you might not think it were true, one of the best pairings you can put together with pumpkin pie might very well be Belgian-style beer…if you have the room for it! The lightness of the beer ought to do a number to dessert stuck to the roof of your mouth – and its lightly bitter flavor acts as a capable offset to pie and other desserts.

Lagavulin 16 Single-Malt Islay, Scotch NV
Islay, SCT
Figuratively liquid smoke without the fire in the strongest possible terms. If the smoked turkey hasn’t satisfied your smoke cravings, the Lagavulin will seal the deal. This 16-year old Islay will keep you intrigued even after the last dish clears from the table – as well as thankful for a Black Friday that doesn’t involve shopping.

Lorzenzo Inga “Gavi di Gavi”, Grappa Cortese NV
Piedmonte, ITA
A good digestif aids significantly in the process of digestion – so there’s more utility in this than you might realize! To reduce it down to its simplest terms, an after-dinner drink is anything following dessert and coffee, and grappa is really a standard-bearer of digestifs.

Amaro Montenegro di Bologna, Amari NV
Bologna, ITA
For a lighter digestif, the Amari of Italy really will find room to spread its wings in the wake of a Thanksgiving meal. They help settle the stomach and start digestion well, and Montenegro is a light and citrus-forward way to finish without the bite of grappa or the smoke of scotch.
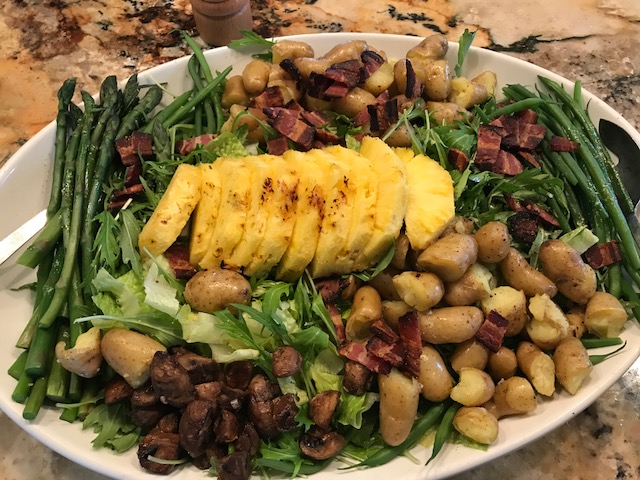
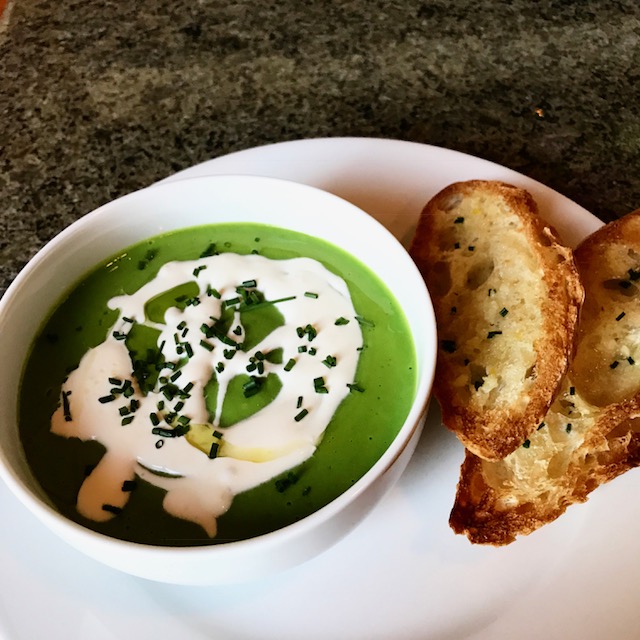
 Clean the greens and spin in a salad spinner. Wrap in a kitchen towel or paper towels until needed.
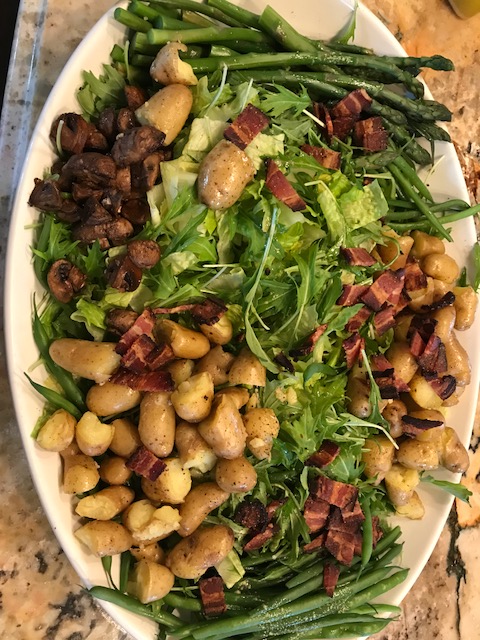 Serve with French bread and good butter.