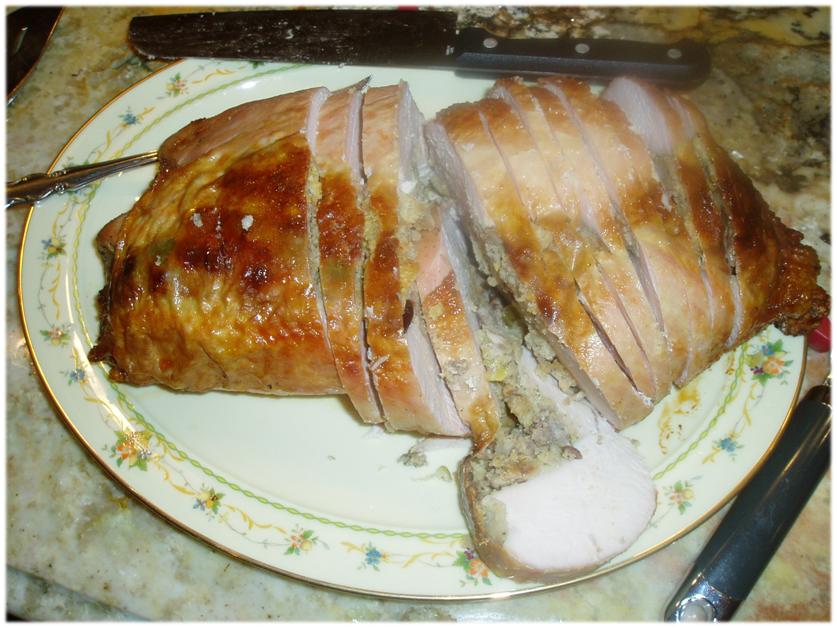
I promised you some recipes this week from our fabulous Thanksgiving celebration last week. This is one of my favorites. We just use our regular sausage stuffing recipe as there always seems to be enough. We also glaze the roulade with our homemade apple habañero jam (which is super easy; I will post that soon.) Last year, Mary actually boned the turkey breast on Thanksgiving morning…quite the undertaking. This year we ordered an extra turkey and had the very nice butchers at Whole Foods do it for us. The boned the breast and kept the pieces for us, which meant more meat and more soup, YUM! You can, of course just buy a breast, but it must be whole and not split. This recipe is surprisingly easy and I think it actually makes a better product than the whole turkey. It stays very moist and is very pretty when you cut it. Not to mention, it makes for great leftovers to send home with your guests. Try it out…maybe for Christmas?
Kelly
Glazed Turkey Roulade
1 whole (2 halves) turkey breast, boned and butterflied (about 5 pounds)
2 onions halved
3 stalks celery cut into 3 inch pieces
3 carrots cut into 3 inch pieces
3 cups prepared stuffing
Kosher salt and freshly ground black pepper
3 tablespoons butter, melted
Directions
Place the stuffing in a large bowl. Preheat the oven to 325 degrees F. Prepare a sheet pan with cooking spray and place the vegetables on the pan.
Rinse the turkey breast then lay the butterflied turkey breast skin side down on a cutting board.
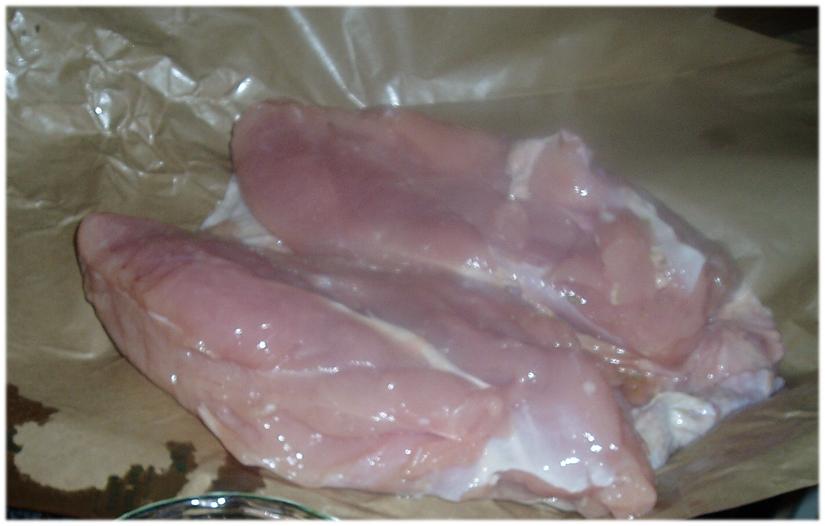
Use a heavy pan to pound the turkey breast to a more even thickness.
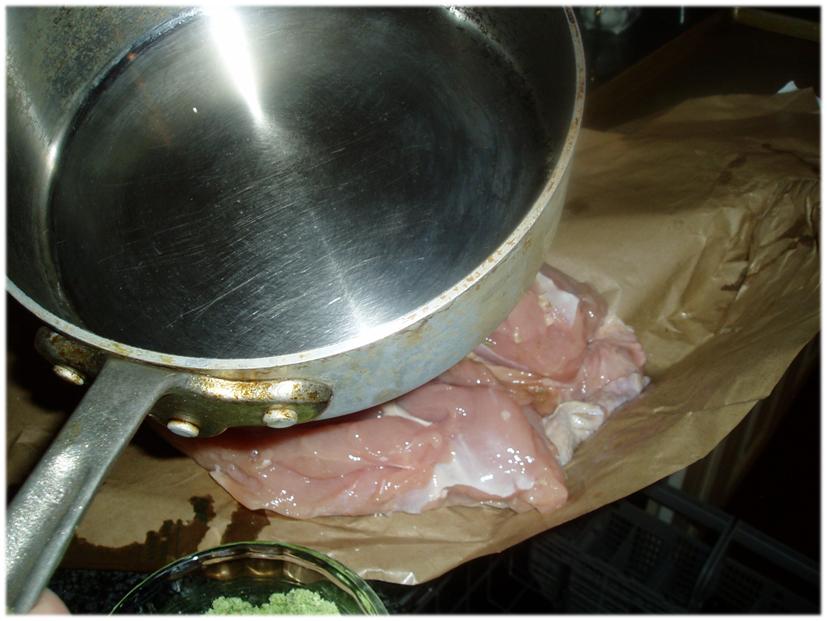
Dry the turkey very well (this is very important.) Spread the stuffing in a 1/2-inch-thick layer over the meat, leaving a half-inch border on all sides.
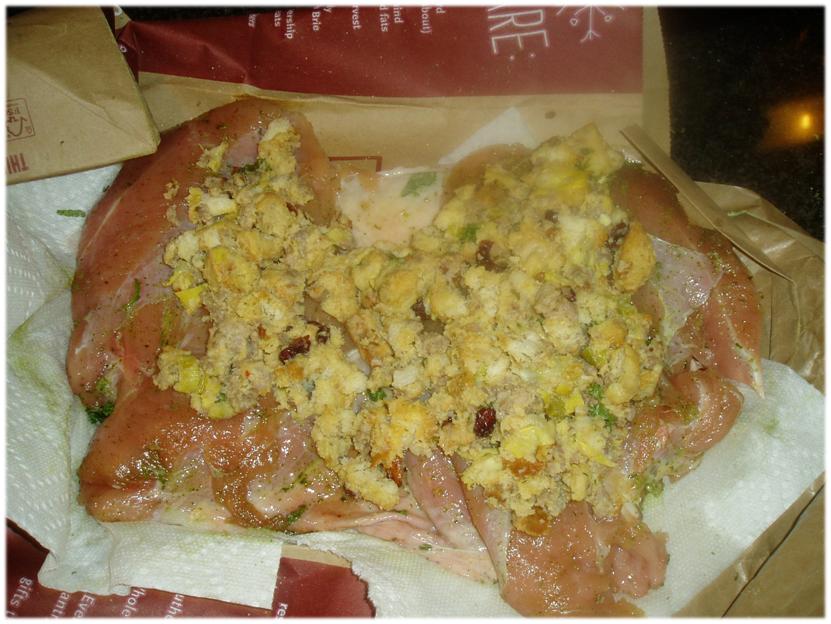
Don’t mound the stuffing or the turkey will be difficult to roll. Starting at 1 end, roll the turkey like a jelly roll and tuck in any stuffing that tries to escape on the sides.
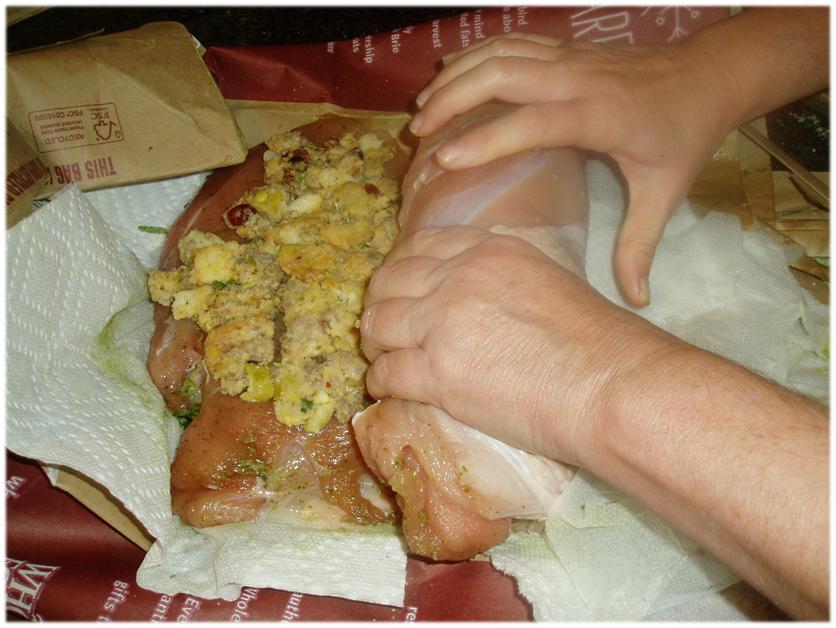
Tie the roast firmly with kitchen twine (or close with tooth picks as we did here, though twine is better) every 2 inches to make a compact cylinder.
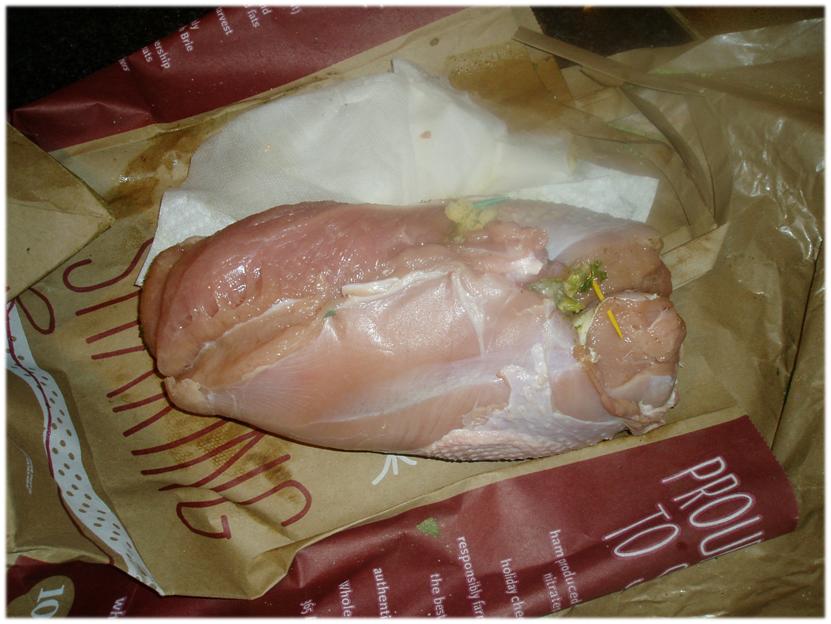
Place the stuffed turkey breast seam side down on the rack on the sheet pan. Brush with the melted butter, sprinkle generously with salt and pepper.
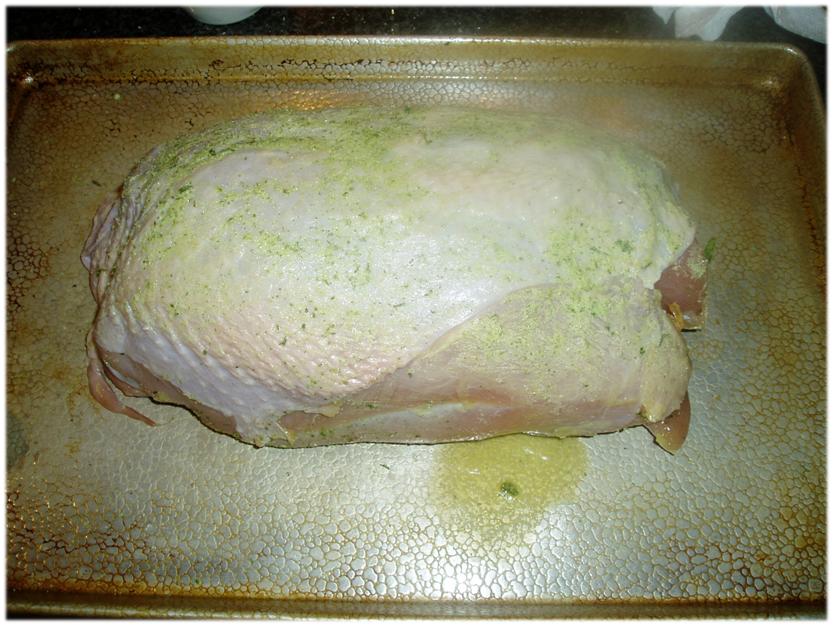
Roast for 1 3/4 to 2 hours, until an instant-read thermometer registers 150 degrees F in the center. About 20 min before the turkey is done, brush with the glaze. Repeat twice about 5 minutes apart.
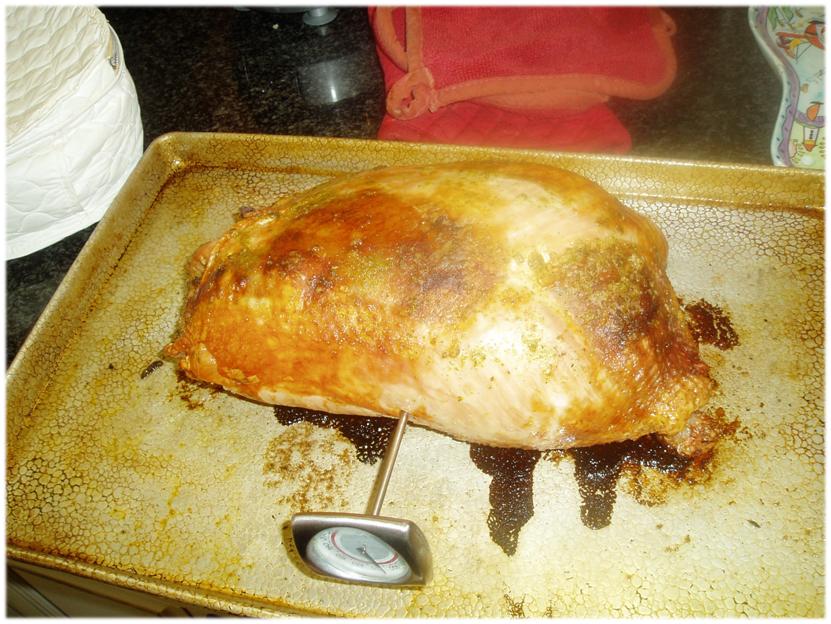
Cover the turkey with aluminum foil and allow it to rest at room temperature for 15 minutes. Carve 1/2-inch-thick slices and serve warm.
If you make leftover stuffing, you can place it in a buttered gratin dish and bake for the last 45 minutes of roasting alongside the turkey.
We are still coming down and recovering from Thanksgiving and mostly taking it easy this weekend with football and classic movies while trying to get outside a bit as well. I thought I would share with you some of the highlights of our day…with some of the recipes to come this week.
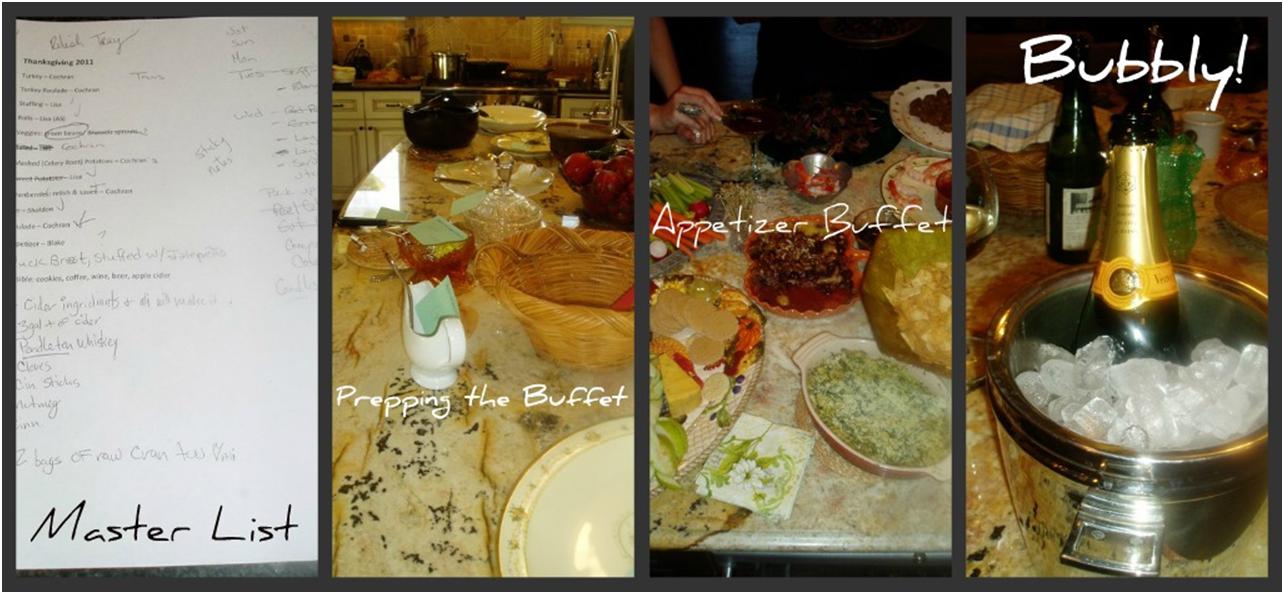
As you know from our countdown list, we were working all week…here is the culmination. Our scribbled on master list, our buffet all laid out with sticky notes, the zillion appetizers we ended up with, and my personal fav: Veuve Clicquot, courtesy of some fabulous guests.
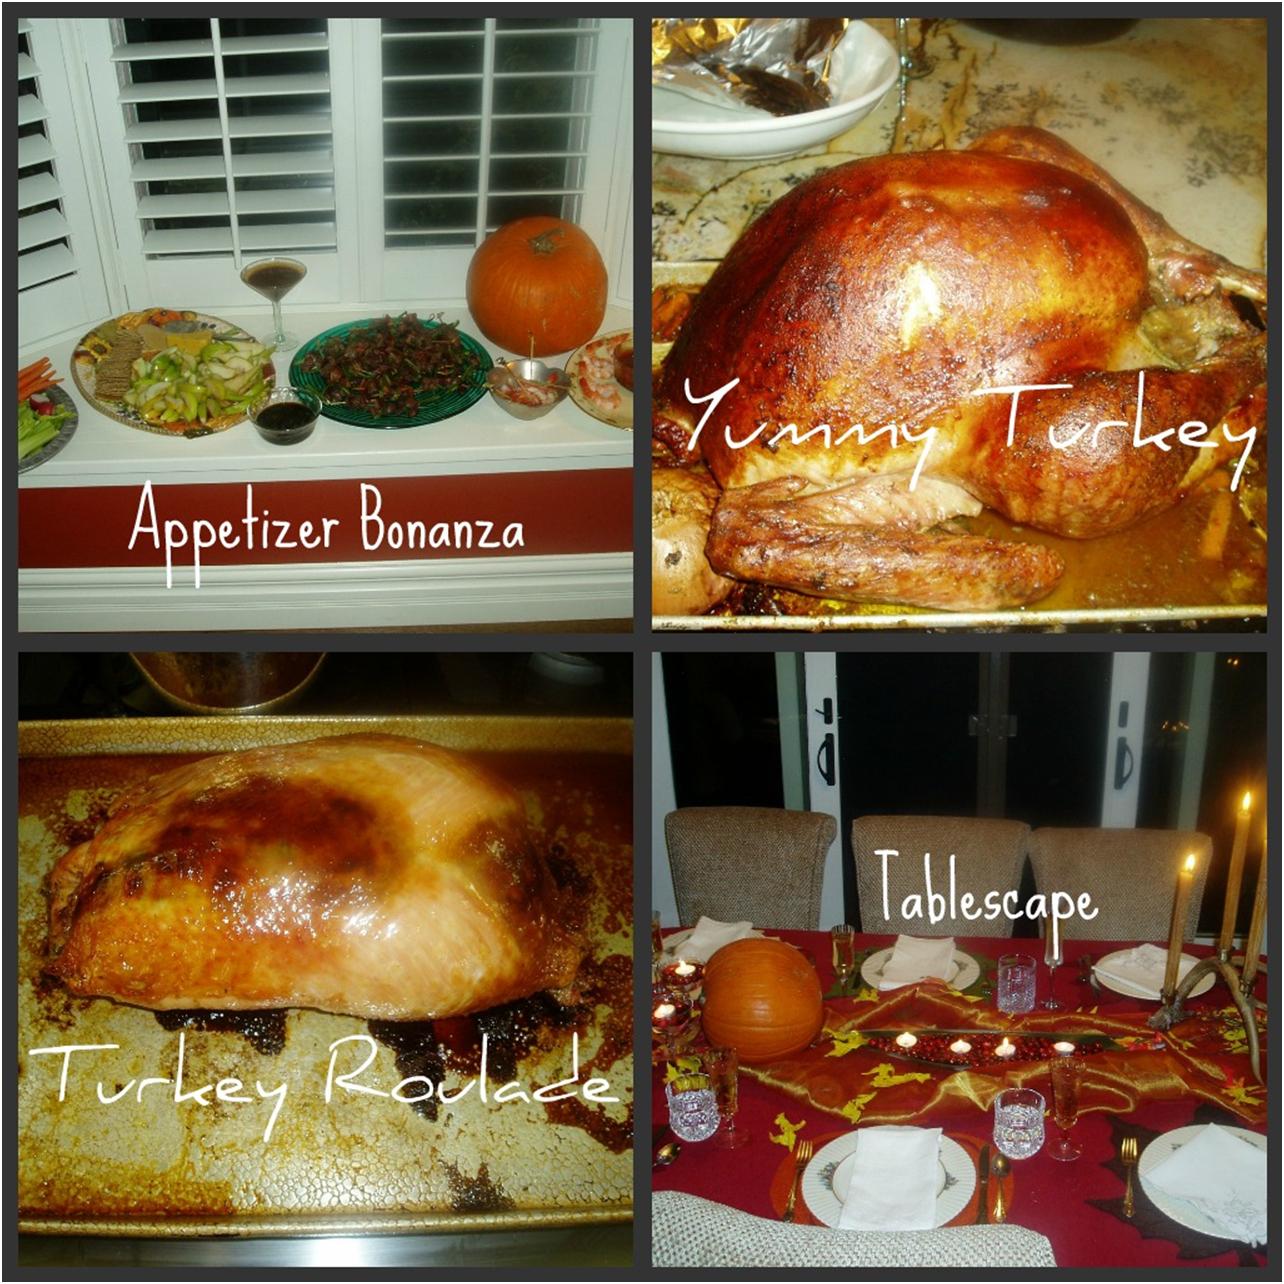
All of our appetizers got relocated to make room for the actual buffet, but I have to say they were amazing! Including something new for us, fresh duck and dove; delish!
Lovely table courtesy of Ali and an array of borrowed and creative decorations!

We had an amazing group of people who were all willing to pitch in. Plus, the highlight of an hour-long session of what we are thankful for; gotta love a happy and thankful group! A great party like this makes all the work – and dishes – worth it!
I hope you all had as wonderful a day as we did. I really couldn’t have asked for more!
Kelly
Today we want to share with you our plan for the week. As I mentioned before, we like to spread out our tasks across the week to make things a bit easier. Yesterday, we did most of our shopping, so we are all set to get started. Since some things save better than others, you need to think about what can be done the earliest. Also, now is a good time to reconfirm your guests. Just remember, if anyone wants to come last minute (or cancels), you are already making everything so don’t freak out! Here is what we are planning:
Saturday:
- Finish menu planning
- Shop
- Grocery
- Beverages, both non-alcoholic, festive cocktails, wine and beer – Ask your guests to bring what they like to drink. If you keep what you like or the basics, then you are covered. Remember kids and non-drinkers.
Sunday:
- Count place settings
- Polish silver, check glasses for dust.
- Make cranberry sauce
- Make pumpkin roulade (to be frozen)
- If you are making rolls or pie crust, make them today and freeze
- Start defrosting turkey in the refrigerator (ours is 21 lbs, check the instructions for your bird)
- Get nails done (a nice treat after prepping all day)
Monday:
- Get a good workout in to start the week off right!
- Decide on seating arrangements
- Pull out decorations
Tuesday:
- Complete shopping
- Make onion jam
- Brine turkey (if you do this; we don’t)
- Blanch green beans
- Make stuffing (leaving out eggs to add before stuffing the turkey)
Wednesday:
- Make cranberry relish
- Peel potatoes and keep refrigerated in a water bath
- Set the table
- Clear serving area
- Set up bar and chill beverages
- Clean the house
Thursday:
- Turkey Trot!
- Roast Turkey
- Turkey Roulade
- Mashed Potatoes with Celery Root
- Finish Citrus Green Beans
- Defrost pumpkin roulade
- Make gravy
- William Sonoma makes Turkey Gravy Base that we always keep on hand for Thanksgiving just in case you need to supplement your gravy. It is awesome, especially if you end up a little scant on your drippings. My recommendation is to get it early because they tend to sell out; I drove 35 miles last year to get ours…oops!
Our Thanksgiving tends to be pretty traditional and straightforward. We try to include everything that is a favorite of each guest: if there is something they can’t live without, we make try to make it happen or ask them to bring it. We try to experiment on the other things and tend to make a few last minute additions (often in the way of appetizers and dessert). Plus, as I mentioned, we delegate a lot of the tasks which makes the day much easier! It has always been a team effort for us, which really is fun. Is there anything unusual you include for Thanksgiving? Fried turkey? Noodles? Soup? We always love hearing people’s traditions!
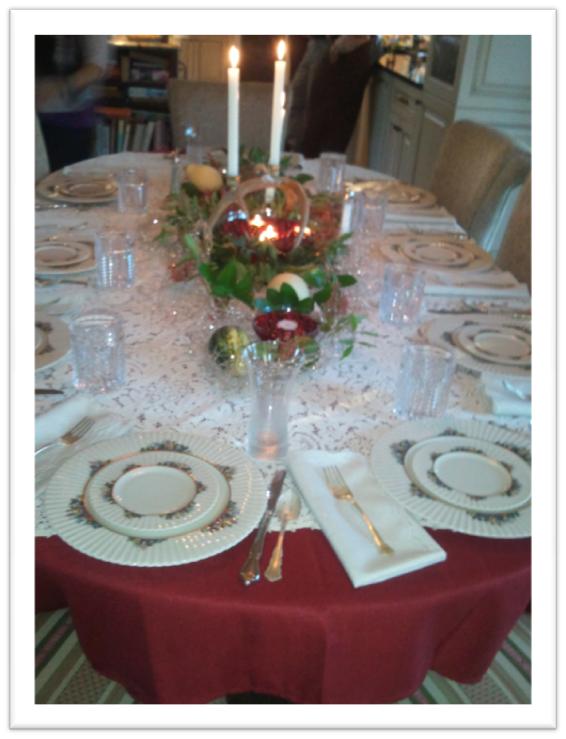
Our Thanksgiving tradition has evolved over the years, but the last 10 or so years, we have joined forces with a family friend to share the workload and the fun! As we mentioned earlier in the week, we always invite people who are without a “home” for dinner. It really has made things fun and interesting over the years. Plus, when you split things up, it gives us the opportunity to experiment with some new dishes. The weekend before Thanksgiving is a great time to get organized and start on your shopping. Planning out your menu, make-ahead dishes and timeline will also help keep the stress at a minimum for the week. Check out our menu (in progress) below.
Thanksgiving Menu 2011
Appetizer:
- Shrimp Cocktail
- Relish Tray
- Bacon Wrapped Duck with Jalapeño and Cranberry BBQ Sauce
- Dove Nuggets
- Spinach and Artichoke Dip with Pita Chips
- Holiday Brie with Crackers and Apples
- Stuffed Grapes
Dinner:
- Roasted Turkey
- Turkey Roulade
- Stuffing
- Mashed Potatoes with Celery Root
- Citrus Green Beans
- Cranberry Sauce
- Cranberry Relish
- Rolls
- Cider Gravy
- Onion Jam
- Asparagus
- Squash Casserole
Dessert:
- Pumpkin Pie with Vanilla Whipped Cream
- Pecan Pie
- Chocolate Roulade with Pumpkin Mousse Filling
- Ginger Snaps
**The items in green were added after Thanksgiving and this represents our final menu with lots of appetizer additions.
What we do from here is to decide who will be making what dishes. Next, pull out any recipes you will need and make a list of all the ingredients you will need for each dish. Then, double check what you have on hand for both equipment and pantry items. Finally, go shopping! Thanksgiving preparation can feel overwhelming but if you do one or from two things a night, it really helps!
A couple tips if you are up for it:
- Our friend makes copies of each recipe so they are within reach while cooking. Keeps your cookbooks from getting icky. ~Mary
- I am neurotic and start by listing things by dish and then reorder them by section of the store in a spreadsheet. It really helps make shopping more efficient. ~Kelly
Next steps: Make a plan for the week.
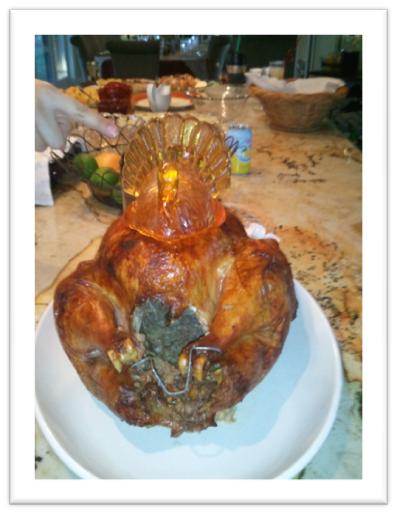
We got a little too caught up in life this week to pull together a full Thanksgiving prep list for you. So let’s start with where you should be today. You should have:
- Invited your guests
- Check on special food needs for guests
- Planned your menu (not so hard with Thanksgiving)
- Check your place settings and seating to make sure you have enough chairs and forks.
- Given your guests assignments of what they can bring
- Prepare your shopping list for this weekend
Next we always like to ask our guests if they know of anyone who needs a home for dinner. After all, it makes little difference if you do Thanksgiving Dinner for 4 or 34!!! Just get a bigger Turkey.
Next steps: shopping lists, shopping and make sure no one you know is alone on Thanksgiving!!!
Mary
& Kelly
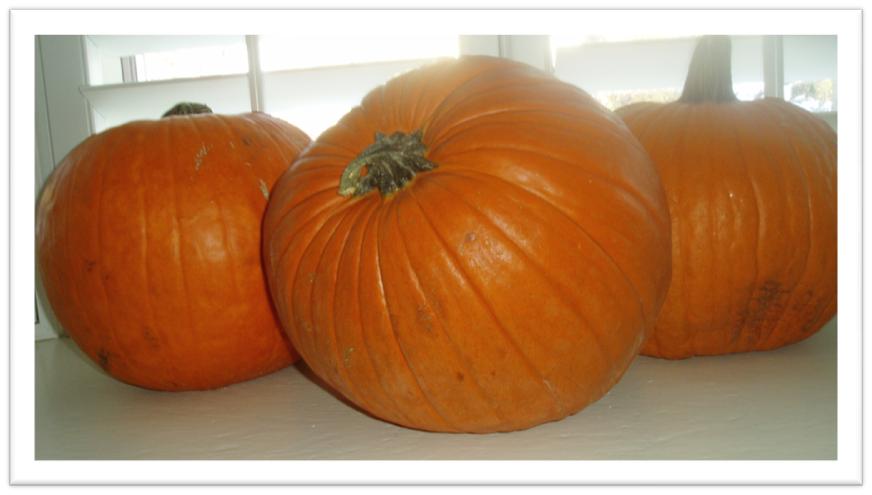
Fall is officially here and I am loving it! Fall means beautiful days, cool nights, a chance for snow, and pumpkins! I will be the first to admit that I still love to carve pumpkins, only now I love to cook with them as well. Pumpkin seeds are such a yummy way to use something that most people throw away. It is also so easy! When you head out to pick up some pumpkins this year, remember to grab a baking pumpkin as well to get a jump start on Thanksgiving preparation. We got these beauties at Anderson’s farms…if you haven’t been to their premier corn maze…check it out.
Here are a couple easy projects for a fall evening. What else do you do to celebrate the cooler weather?
Mary & Kelly
Pumpkin Puree
Cut a hole in the top of your baking pumpkin to remove the stem and then cut in half.

Remove the seeds and put them in a bowl of salt water to brine; set aside.

Place the pumpkin halves cut side down on a lined baking sheet. If you don’t want the bottom to brown, add a little water in the bottom of the pan, which will help it steam, not roast.

Bake the pumpkin at 350° for 30 minutes-1 hour (depending on size and the thickness of the flesh) until the flesh is tender.
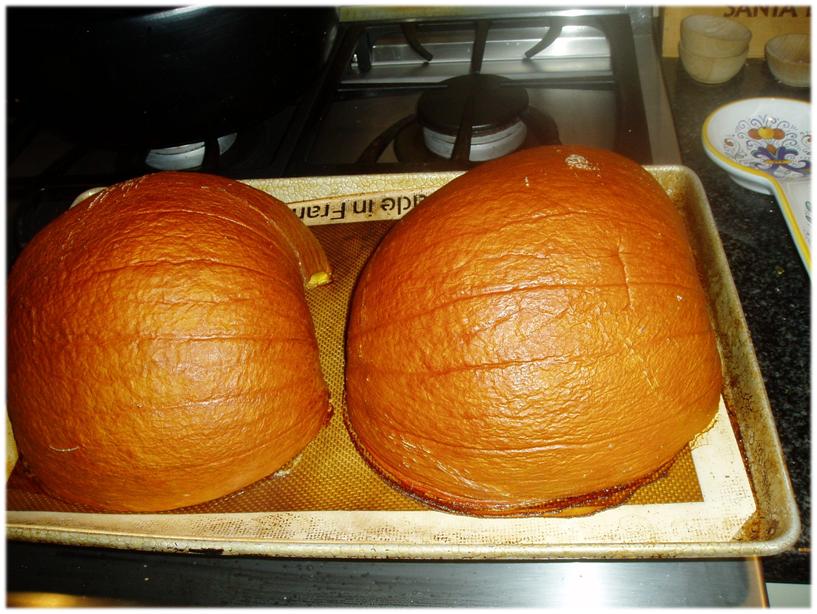
Scoop the flesh out of the shell and allow to cool. At this point, if you want to use in casseroles, soups, stews or stir fries. Go for it. Otherwise…

You can save this in the refrigerator for up to a week.

When you are ready, place the flesh in a blender or food processor (adding a little water if necessary) and blend until smooth. The food processor will puree it without water, so choose depending on your ultimate use.

Place the puree in a container and place a layer of plastic wrap directly on top of the puree cover with a lid and freeze.

You can use as a replacement for canned pumpkin for Thanksgiving. Don’t be afraid! It will look a lot more orange than canned product. With spices, it’ll bake up looking normal in a pumpkin pie.

A homemade and delicious alternative!
Spiced Pumpkin Seeds
Remove pumpkin seeds from any pumpkin and place in salty water to brine; allow to soak 2 hours-overnight. Separate the seeds should from the goo.

Strain out the seeds and place in a single layer on a lined baking sheet. Season generously with salt and seasoning salt (we like Paul Prudhomme’s Meat Magic seasoning, if you haven’t tried it, go get some immediately!) If you like them spicy, you can add a little extra chili powder to the mix. If you want something sweet, add a couple tablespoons of brown sugar to the mix.

Bake at 350° for about 30 minutes or until dried out. Turn off the oven and let dry till cool. This adds something. I like it dry and crunchy.

Put in a container on the counter for the fall holidays or serve with soup, salad … everything!